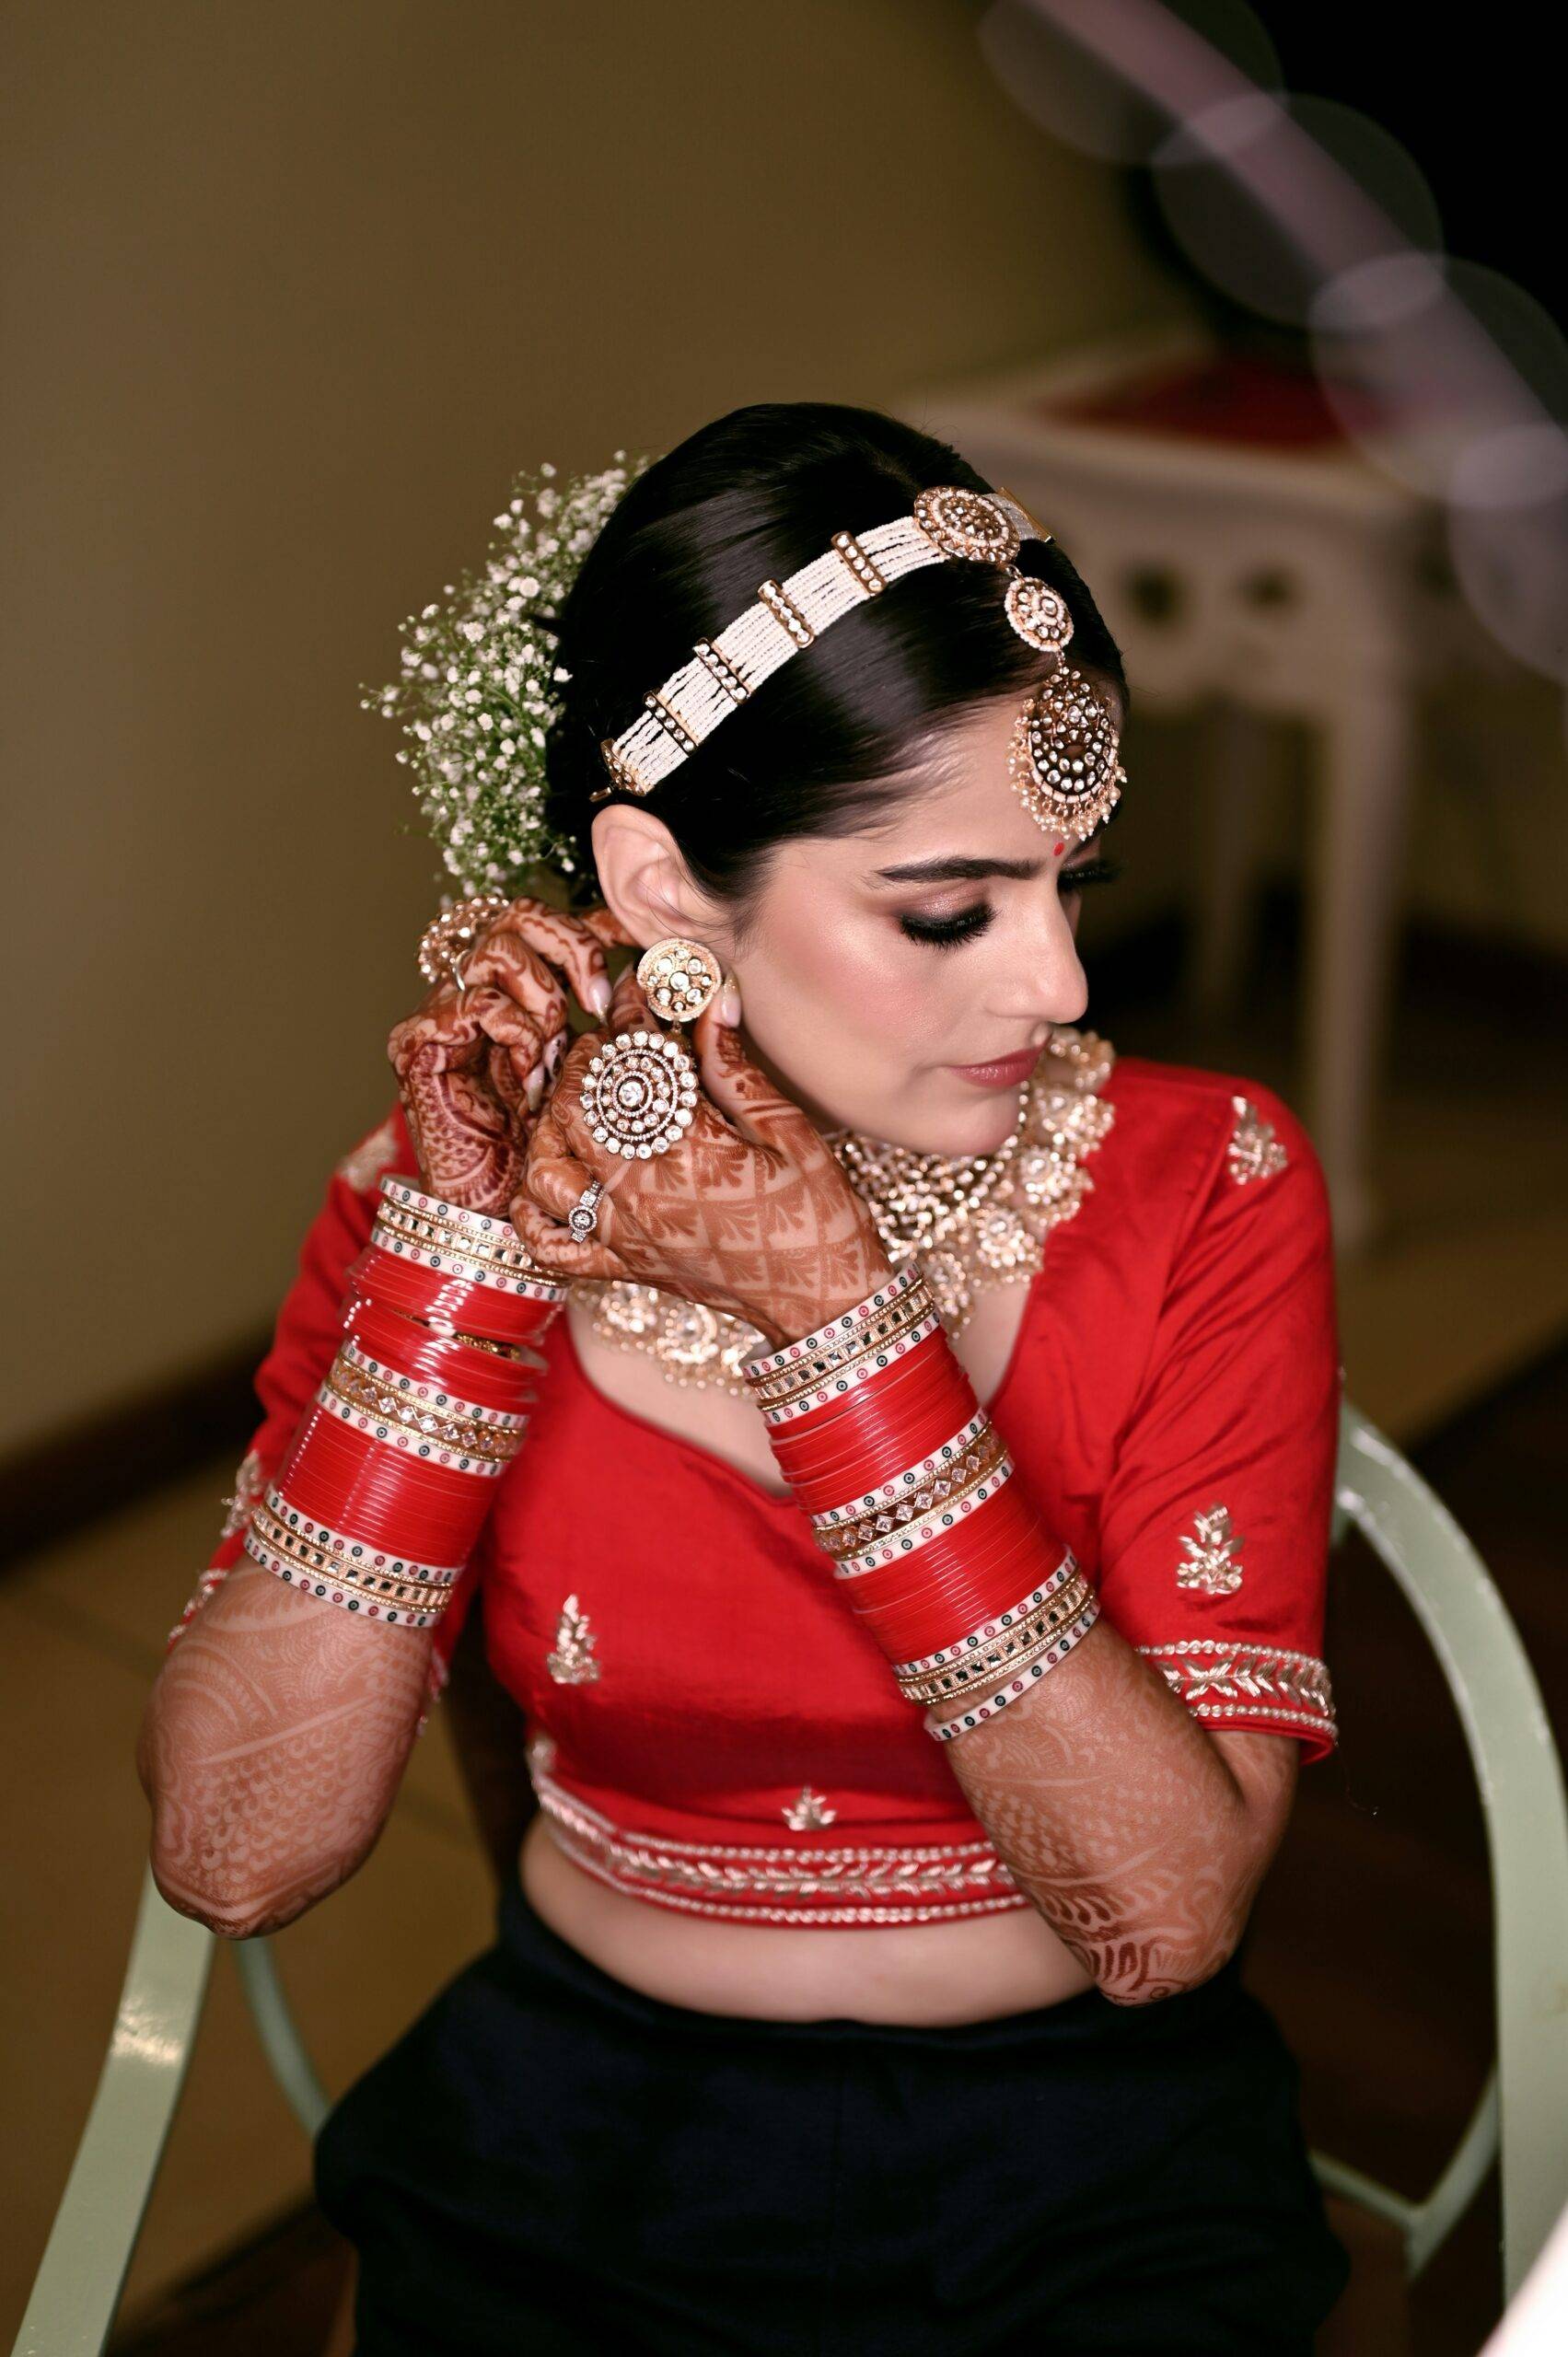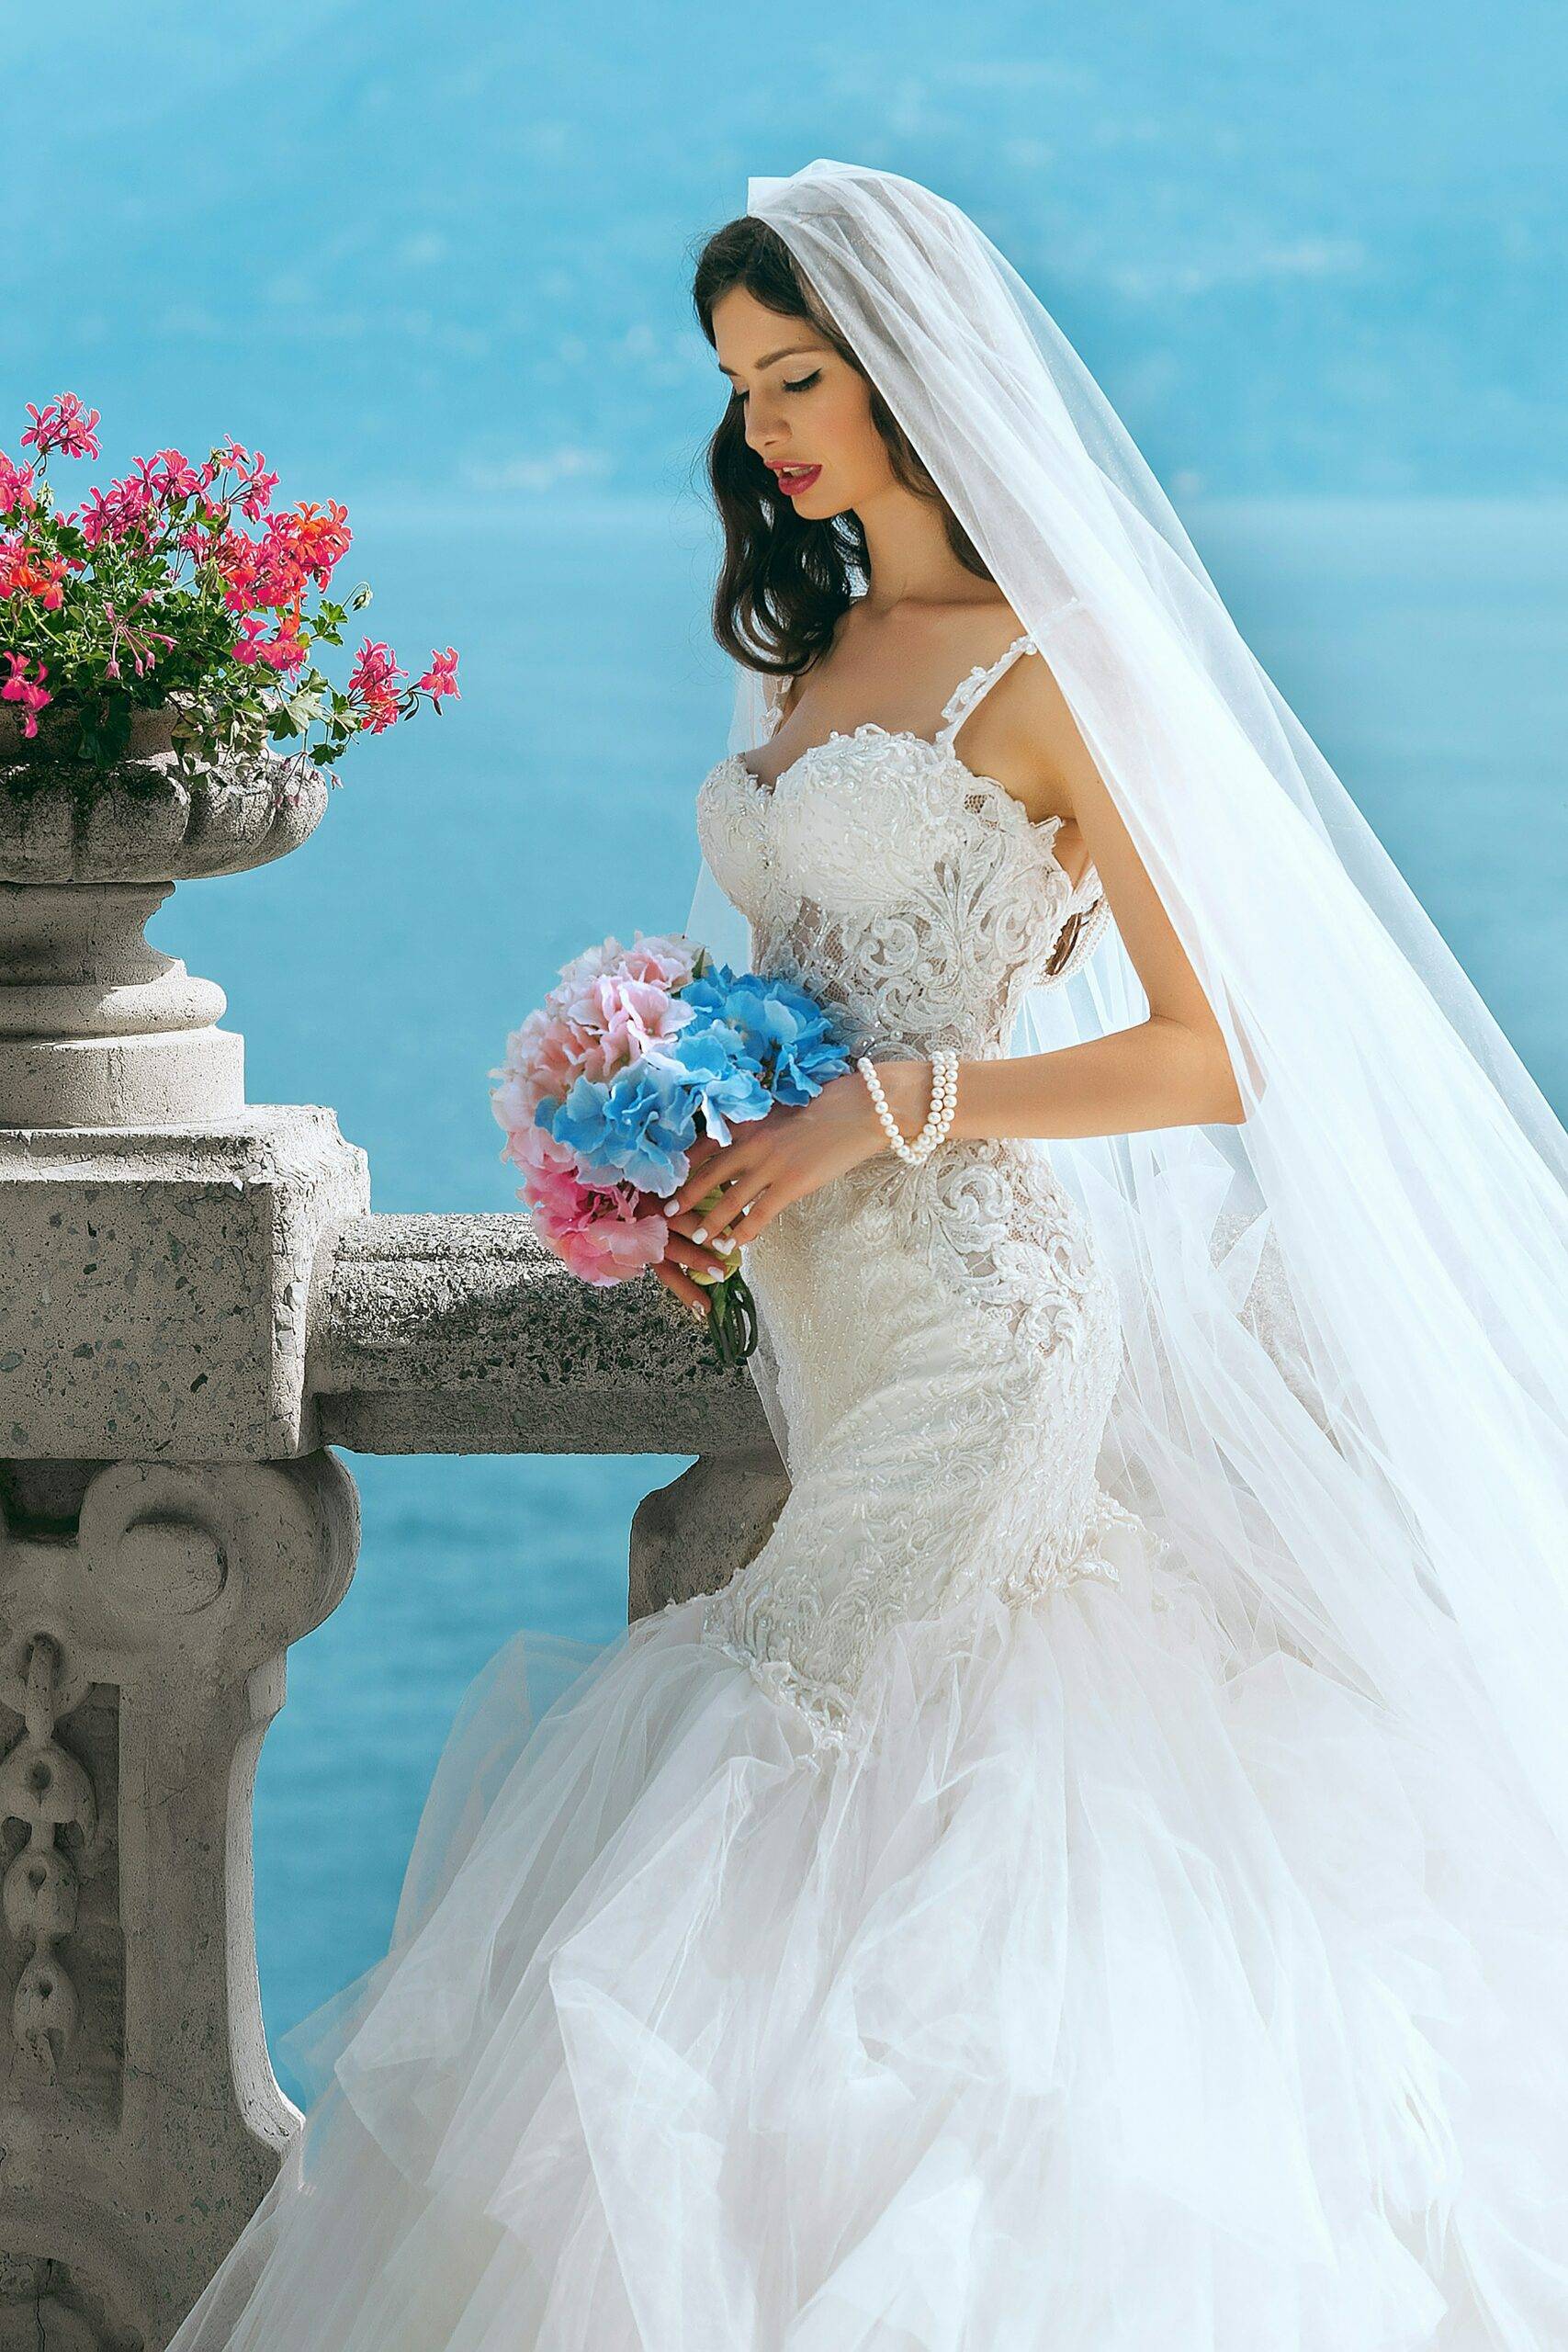
The Ultimate Guide to a Long-Lasting Bridal Makeup Look (2025 Edition)
Every bride dreams of looking flawless from “I do” to the last dance. A long-lasting bridal makeup look is essential—not just for photo perfection, but also for the confidence it brings throughout your big day. In this comprehensive, step-by-step guide, you’ll learn how to craft a timeless, durable bridal look that survives tears, kisses, and hours of celebration.
Thank you for reading this post, don't forget to subscribe!This guide is based on best practices from industry experts and adapted for 2025 trends. Whether you’re a bride, a makeup artist, or a bridesmaid helping behind the scenes, this is your ultimate playbook.
1. Preparing the Skin for Bridal Makeup
Hydration Is the Foundation
Before any makeup touches the skin, hydration is key. Begin with a lightweight, long-lasting moisturizer suited to your skin type. This ensures smooth application and helps makeup adhere better. Use a gentle, hydrating eye cream to minimize puffiness and prepare the under-eye area for concealer.
Prime for Perfection
A high-quality primer creates the perfect canvas for makeup. Choose one that targets your skin concerns: mattifying for oily skin, illuminating for dullness, and pore-filling for texture. A good primer not only smooths but also locks in makeup for extended wear.
Prepping Lips and Eyes
Exfoliate your lips with a gentle scrub, then follow with a balm to avoid cracking. For the eyes, use an eye primer to ensure your shadow stays in place all day. These small steps help prevent fading, creasing, and flaking during your celebration.
2. Choosing the Right Foundation
Match Undertones Perfectly
Foundation should disappear into your skin. For bridal makeup, choose a product that matches both your skin tone and undertone. Test along your jawline in natural light to find your ideal shade.
Go for Long-Wear Formulas
Opt for long-wear, transfer-resistant foundations with a satin or natural finish. These formulas are sweat-resistant and ideal for the emotions and activity of a wedding day. Build coverage where needed—avoid layering too much product at once.
Application Tools Matter
Use a damp beauty sponge or dense brush for seamless blending. Press the product into your skin rather than swiping. This helps avoid streaks and promotes better longevity for the base.
3. Concealing and Highlighting Strategically
Under-Eye Brightening
Use a lightweight, full-coverage concealer one shade lighter than your foundation to brighten under the eyes. Apply in a triangular shape and blend gently to avoid creasing or cakey texture.
Spot Concealing
Cover blemishes and redness by dabbing concealer precisely over spots. Use a fine-tipped brush and let it sit for a few seconds before blending. This method allows maximum coverage without over-blending.
Highlight Key Areas
Highlight the center of the forehead, chin, and bridge of the nose with a light concealer or cream highlighter. It enhances your bone structure and gives a natural bridal glow without shimmer overload.
4. Setting the Base for Longevity
Use a Translucent Powder
A finely milled translucent powder helps lock foundation and concealer in place. Apply lightly using a puff or brush, concentrating on the T-zone and under the eyes to prevent shine and creasing.
Baking for Extra Insurance
If you have oily skin or an extra-long day ahead, bake the under-eyes and jawline with loose powder. Let it sit for 5–10 minutes, then dust off with a fluffy brush. This trick increases makeup durability.
Setting Spray as a Final Seal
Use a setting spray designed for long wear to meld all products together. Mist the face in an “X” and “T” formation. This helps the makeup settle naturally while locking it in place for hours.
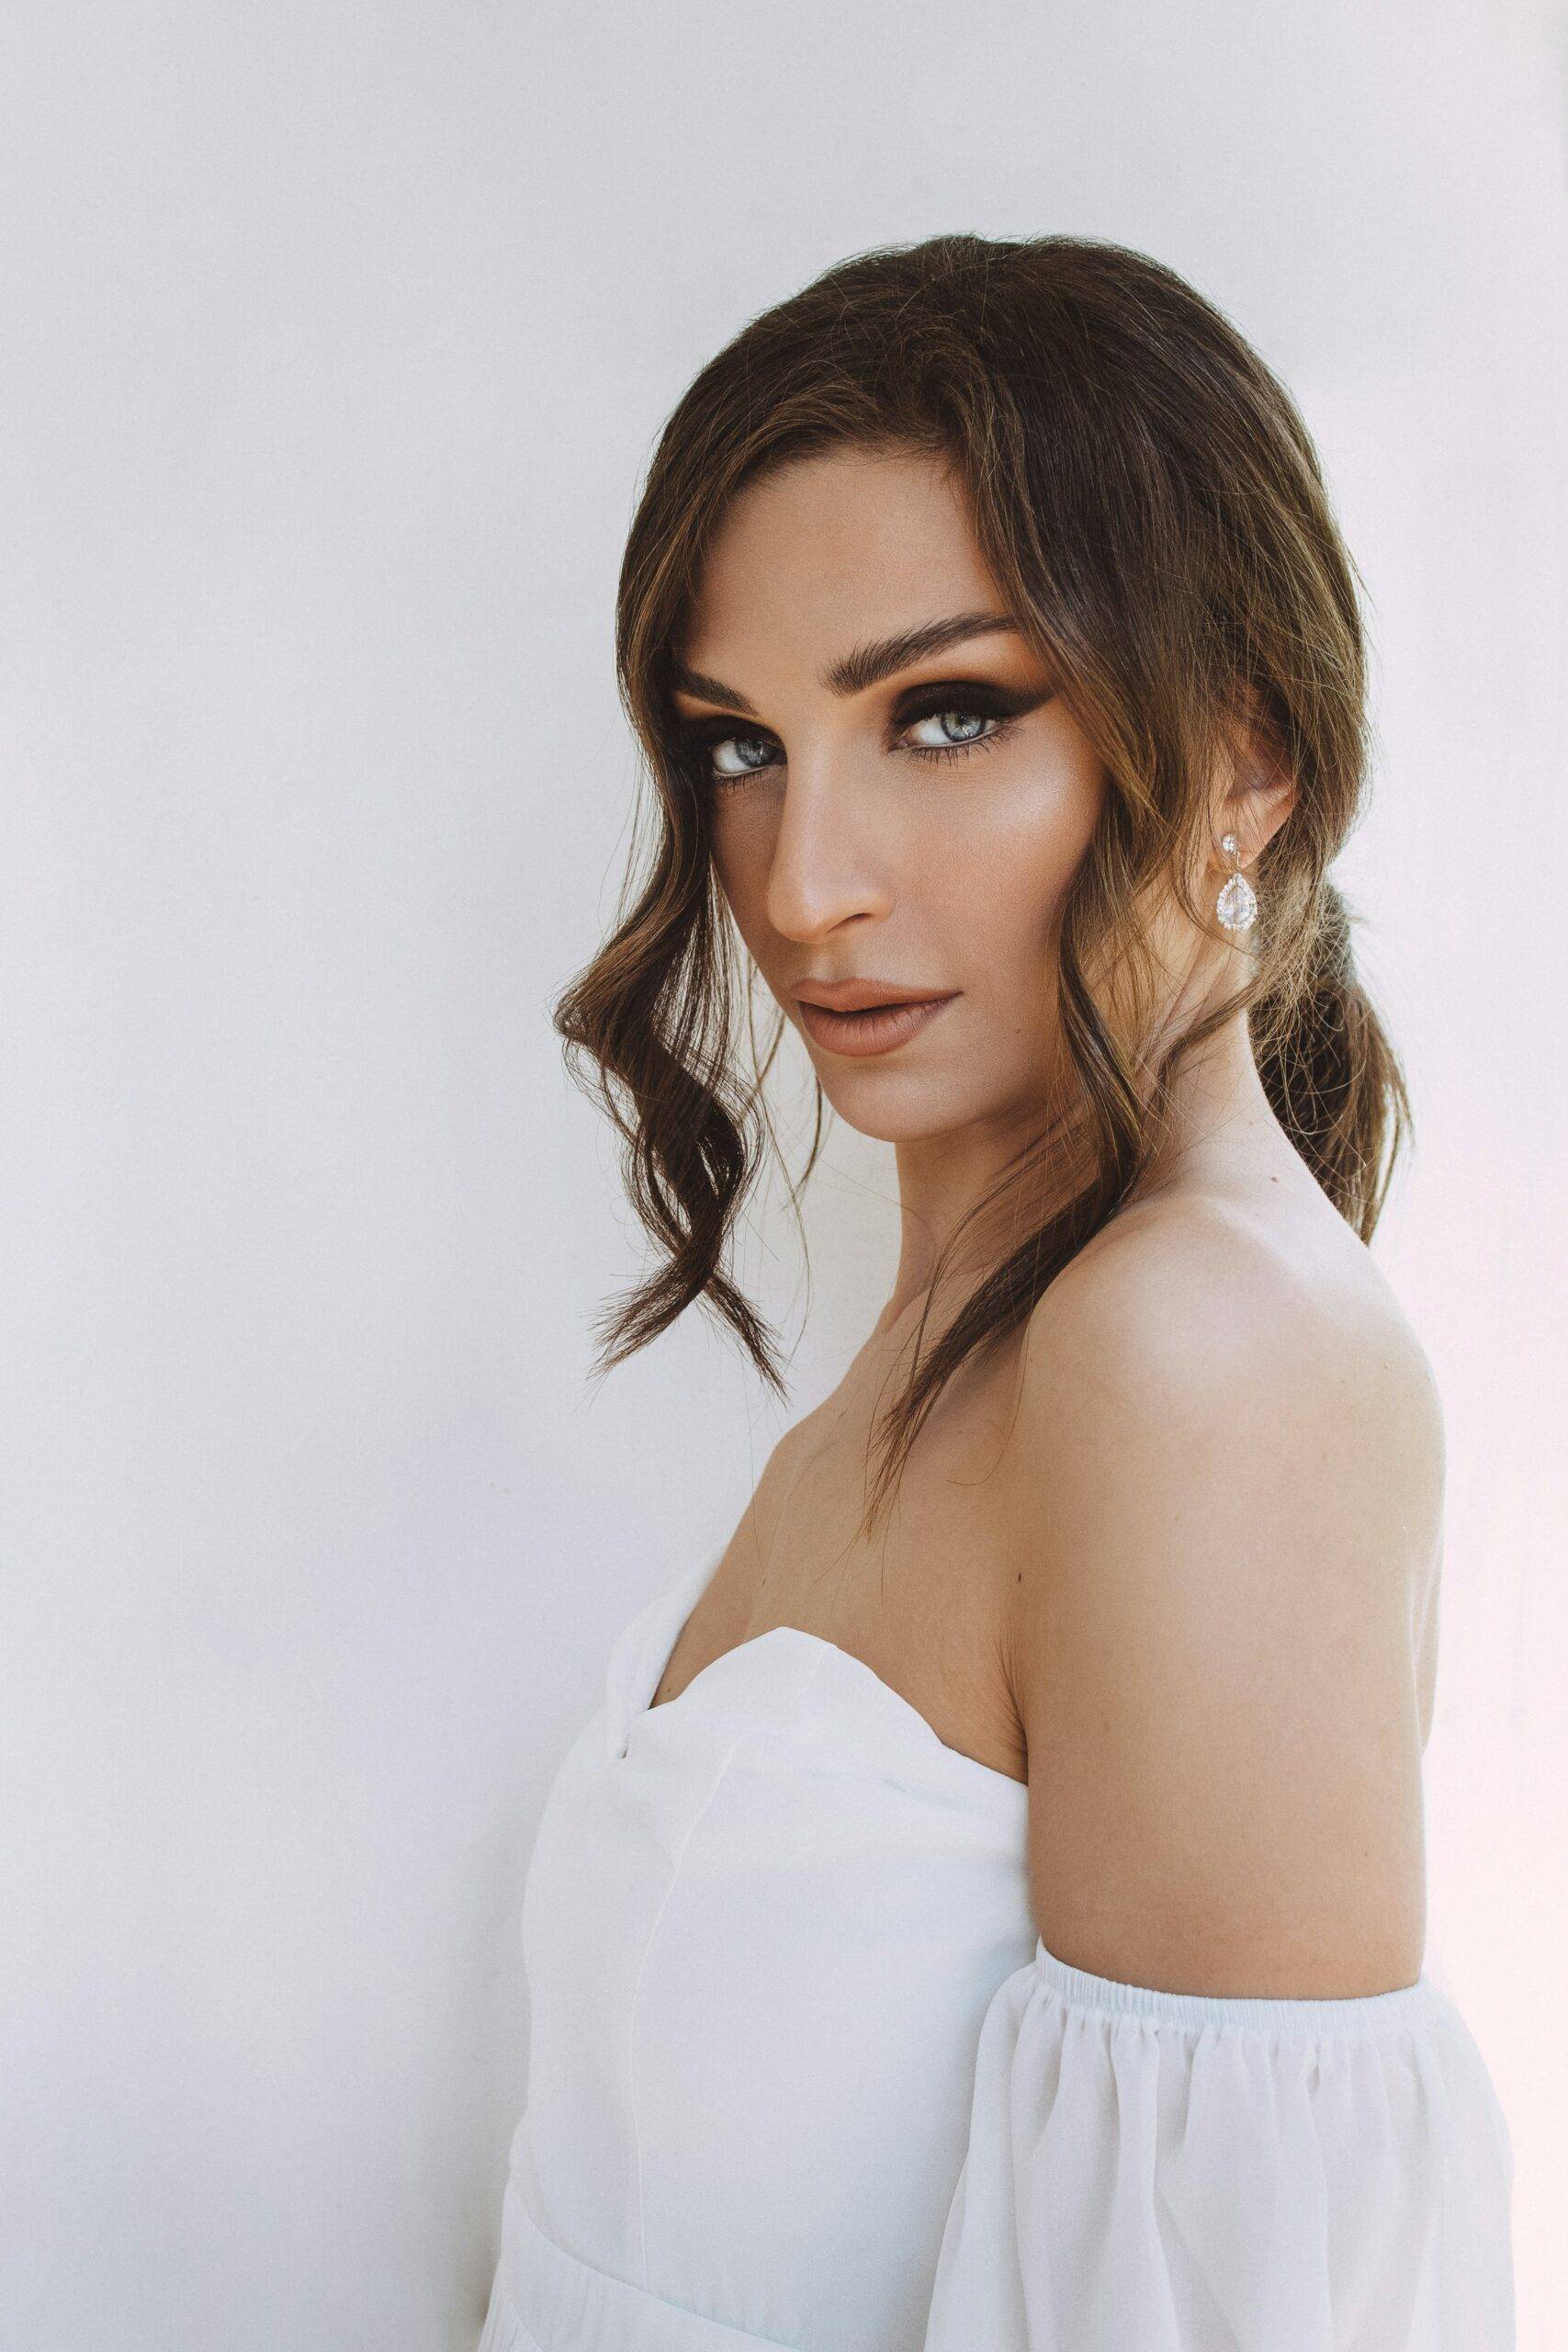
5. Creating Long-Wear Eye Makeup
Prime for Pigment and Hold
Begin with a crease-proof eye primer to ensure shadows stay vibrant and resist creasing. Choose waterproof formulas for added staying power—especially for emotional moments.
Build Depth with Layers
Layer matte and shimmer shadows gradually. Start with transition shades in the crease, followed by deeper tones for contour and shimmer on the lid. Building in layers helps shadow stay fresh and smudge-free.
Waterproof Everything
Use waterproof eyeliner and mascara to avoid raccoon eyes. Tightline with gel or pencil liners and consider using individual waterproof lashes or magnetic lashes for a secure, fluttery look.
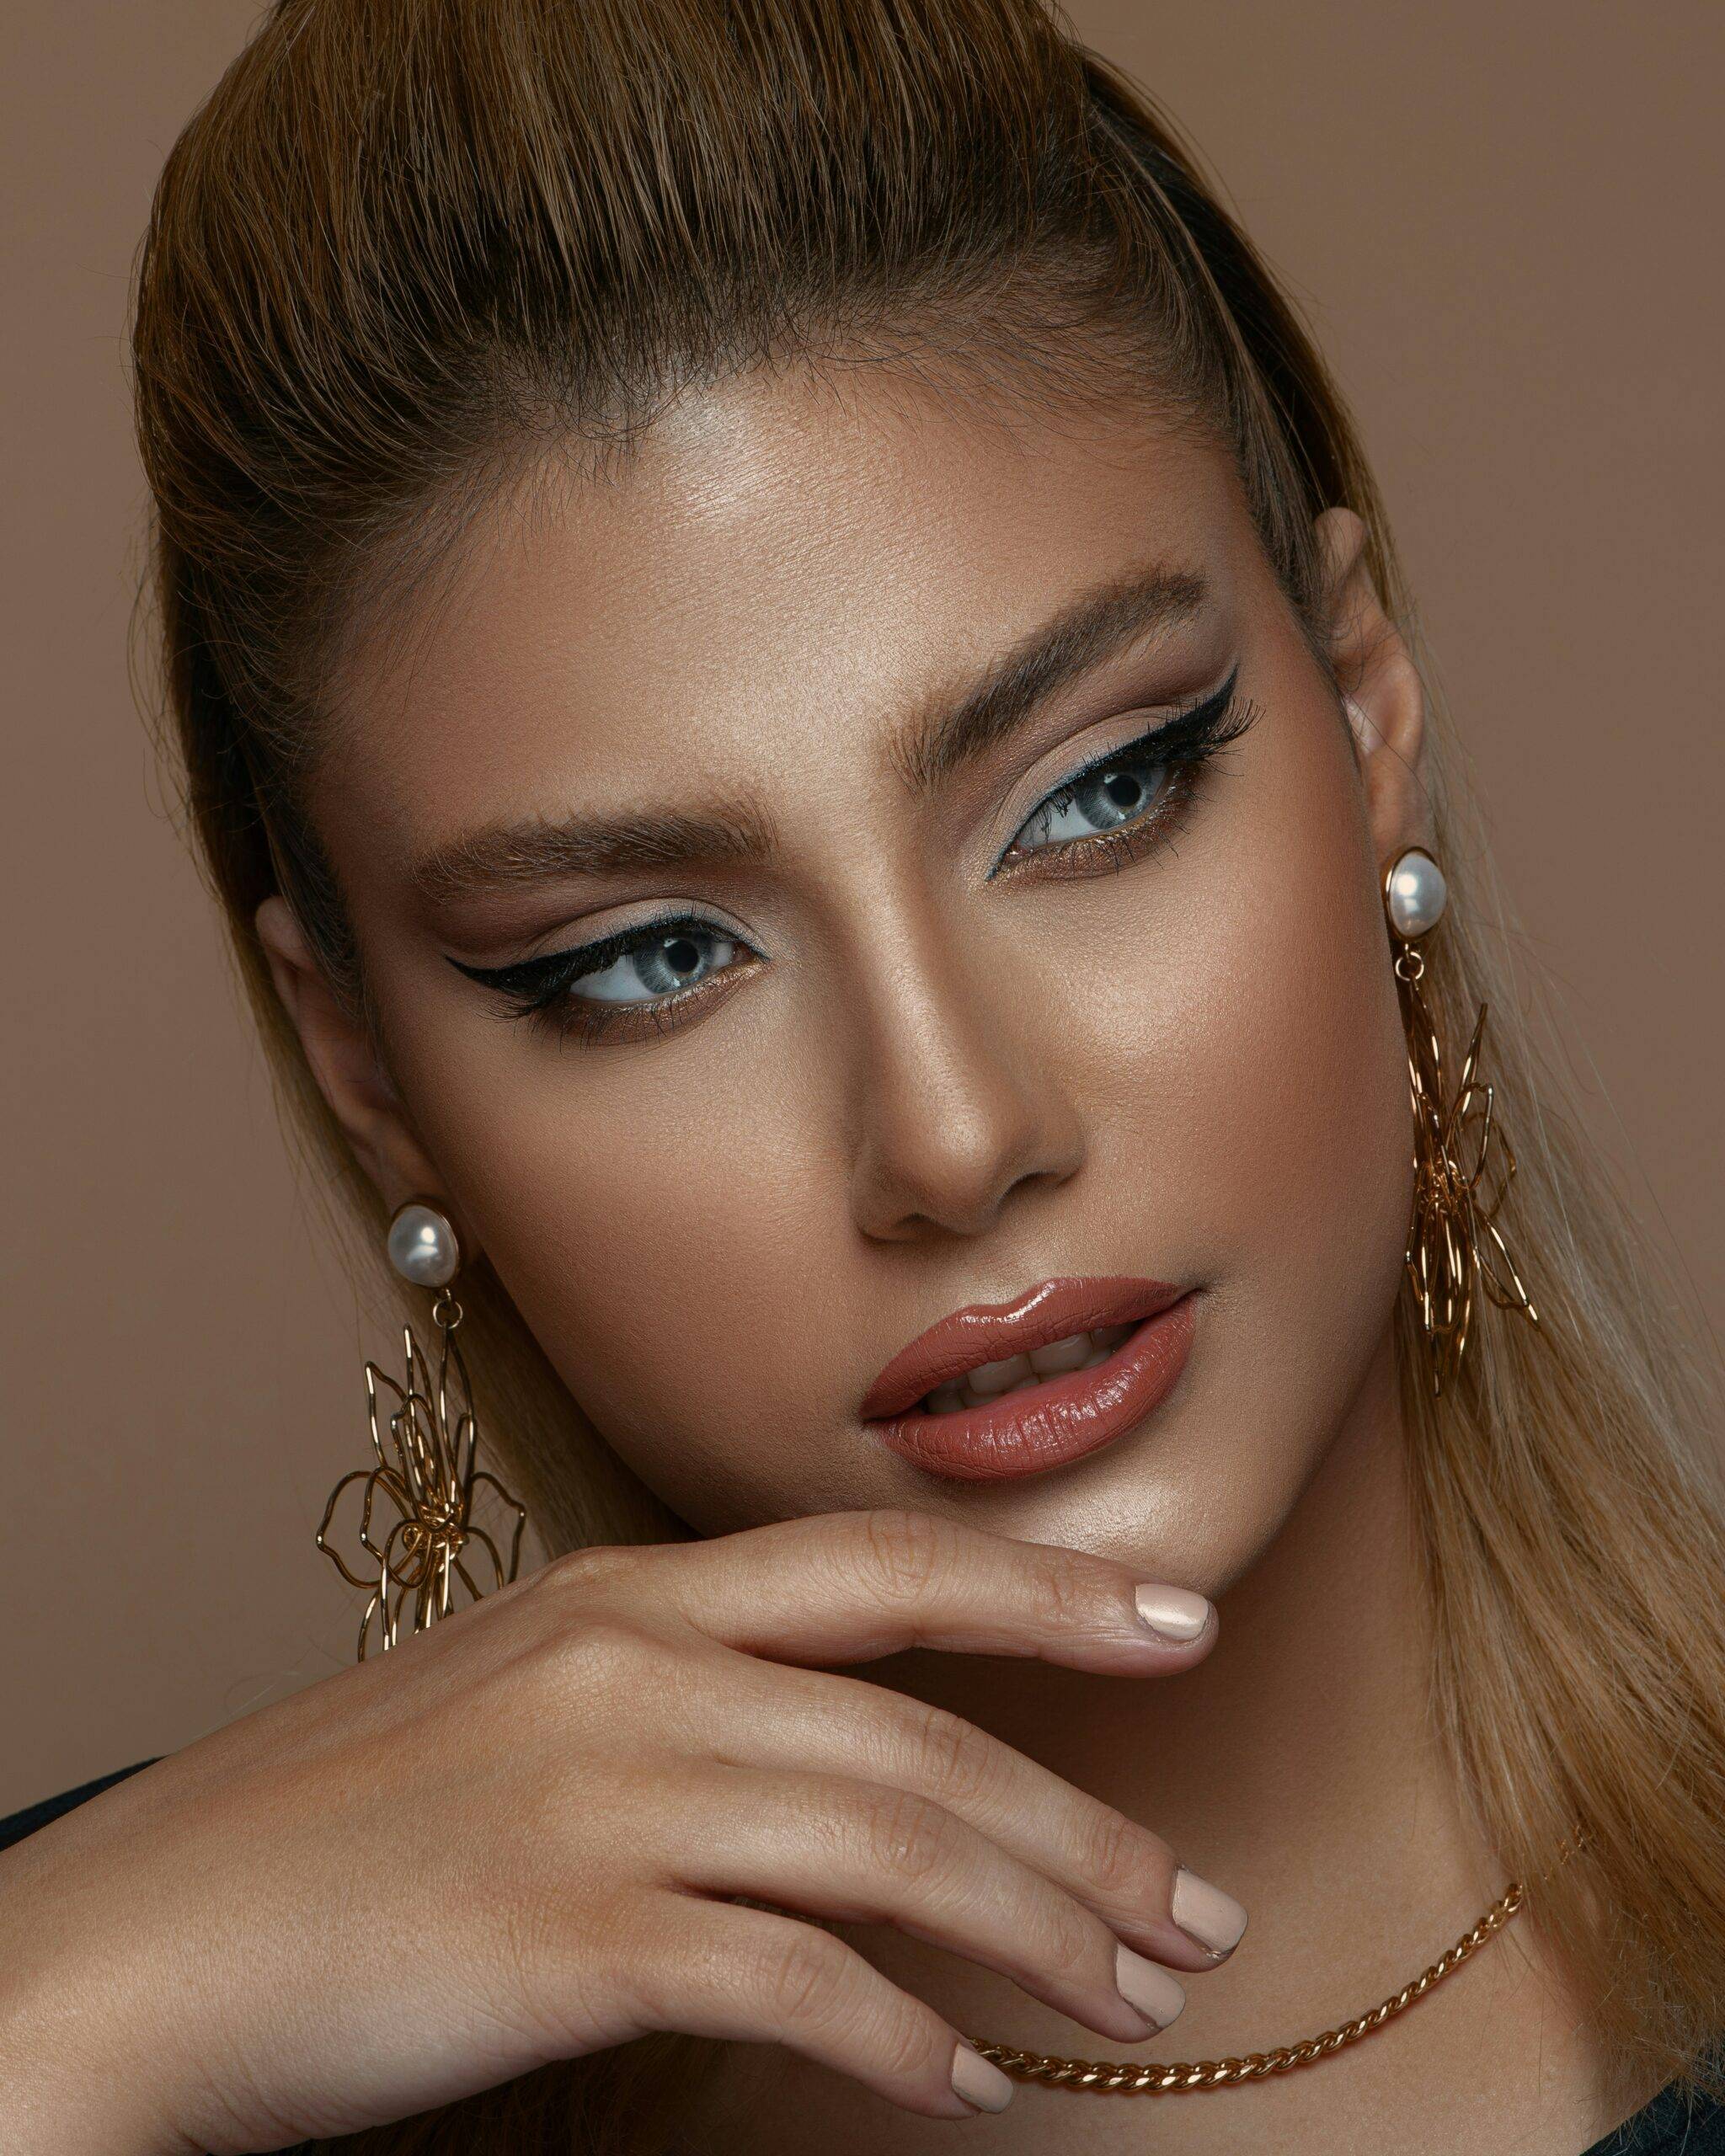
6. Sculpting with Bronzer, Blush, and Highlight
Warm Up with Bronzer
Apply bronzer where the sun naturally hits: along the forehead, cheekbones, and jawline. A matte bronzer gives a subtle, photo-ready contour effect. Blend thoroughly to avoid harsh lines.
Blush That Lasts
Choose a cream or liquid blush with strong pigment for long wear. Apply on the apples of your cheeks and blend upwards for a youthful, lifted look. For extra durability, layer with a powder blush in a matching shade.
Highlighter for the Glow
Use a fine, pearlescent highlighter on the high points of your face—cheekbones, brow bone, nose tip, and Cupid’s bow. Avoid chunky glitter; opt for soft radiance to catch the light beautifully in photos.
7. Creating the Perfect Bridal Brow
Shape with Precision
Well-groomed brows frame the face. Brush brows upward and fill sparse areas with a fine-tipped pencil or pomade. Stick to a shape that flatters your natural arch and face shape.
Use Long-Wear Products
Waterproof brow gels and pencils are best for weddings. They resist smudging and hold up through tears and sweat. Brush through with a spoolie for a natural, soft finish.
Lock in with Brow Gel
Finish brows with a clear or tinted brow gel to set hairs in place. This keeps your shape intact for the entire celebration, even if you’re dancing the night away.
8. Perfecting the Bridal Lip Look
Prep for Comfort
Exfoliate lips and hydrate them well before applying color. Dry lips can crack and ruin the smooth finish of your lipstick. Use a balm and blot excess before applying any color.
Layer for Staying Power
Outline with a waterproof lip liner, fill in the lips entirely, then apply your chosen lipstick. Blot, then apply a second layer to build longevity. Matte and satin formulas tend to last longer than glosses.
Touch-Up Strategy
Pack a small bridal touch-up kit with your lipstick, blotting papers, and powder. Assign a bridesmaid or makeup artist to help with mid-day refreshes for a polished look all day.
9. Avoiding Common Bridal Makeup Mistakes
Don’t Skip a Makeup Trial
One of the biggest mistakes is skipping the trial session. Always do a test run a few weeks before the wedding. It ensures you and your artist are on the same page and allows tweaks for perfection.
Less Is More with Flash Photography
Heavy makeup can backfire with flash photography. Avoid SPF-heavy foundations or overly reflective powders—they can cause a white cast. Keep it balanced for natural-looking photos.
Know Your Skin’s Needs
Use products compatible with your skin type. For instance, avoid mattifying products if you have dry skin, and steer clear of overly dewy products if you’re oily. Balance is key for longevity and comfort.
10. Finishing Touches for a Cohesive Look
Blend Into the Neck and Chest
Extend your makeup beyond the face. Blend foundation and bronzer into your neck, collarbones, and shoulders, especially if you’re wearing an off-the-shoulder or low-cut dress.
Keep the Look Timeless
Avoid overly trendy makeup choices that may not age well in photos. Soft glam with classic elements—neutral tones, soft shimmer, and balanced eyeliner—remains timeless and elegant.
Stay True to Yourself
Above all, your bridal makeup should reflect who you are. Don’t feel pressured to follow every trend. Choose what makes you feel confident, radiant, and beautiful on your special day.
Final Thoughts
Your wedding day is one of the most photographed and memorable days of your life. With the right techniques, products, and preparation, your makeup can last through every laugh, tear, and joyful moment. Take the time to trial, plan, and personalize your look—it’s worth it for that flawless glow.